Mixing vocals is therefore a big priority in the audio mixing session. In this article, I will share my personal techniques when it comes to mixing vocals. I will illustrate those essential principles I have in mind to come up with a greatly produced vocals.

First Principle: A greatly recorded vocals will make it very easy to professionally produced recorded vocals.
Explanation: Garbage in--> Garbage Out, never dream of having a professionally mix vocals if the recording sounds bad. The problem now centers on your recording skills of vocals. It is why mixing is very different from recording when it comes to technical aspects of music production. When you say high quality recording it says, "it captures the best performance without any noise, interference or clipping"
How do to this? I do this by testing the vocal level first before recording. The objective is to record the vocals at a maximum level without clipping or distortion.. Once you have set the levels, you can now proceed to recording.
It is highly important that recording should be completely raw and without ANY EFFECTS including reverb. Some engineers add reverb only feed to the vocalist headphones to ensure that she feels it LIKE A PRODUCED SOUND, so that she can sing with confidence.
Real recorded vocals from a professional studio is DRY. Without any effects I mean. It is highly important that if the recording is done digitally, it should be recorded above CD quality, this means going above the normal 16 bit 44.1Khz standard. Popular sound cards such as Audiophine by M audio can get 24 bit 96KHz.
Second Principle: Clean up the audio first before using it in the mix
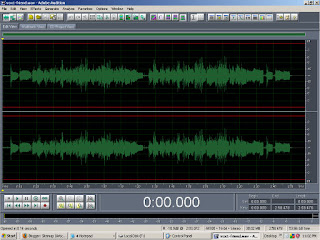
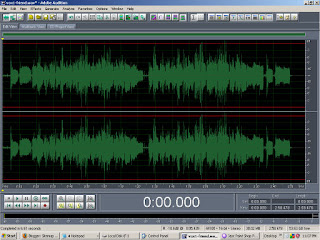
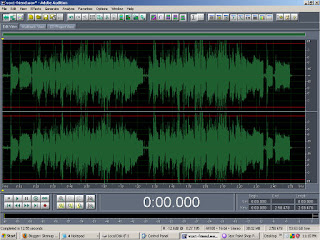
Now the recording is done, open it up using your favorite audio editor (I am using Adobe Audition). Then zoom it out and remove any background noise and unusual breathing related noise. Noise normally occurs in the beginning and in the end. Breathing noise (should sound minor) occurs during the pause of the stanzas , or in the way to the chorus of the song.

You can refer to my past tutorial on tips to remove noise in recordings, regarding this in detail. After noise removal, since there are lost amplitude, you can normalize the wave to bring up the signal to a maximum.
Third Principle: EQ first before Compress
Believe it or not, vocals does not need serious effects like other instruments. The simpler your effects used, the better will be the produced vocals. It is highly important to EQ first using this setting:
Cut 200 Hz (high pass filter)= -6dB
Boost 3000Hz Q = 1 = 3dB
Boost 15000Hz Q = 1 = 3dB
Take note that if you take the summation of cut and boost, it is literally equal to zero, it cut 6dB and I boost 6dB. So only EQ effect overall, the frequency response change , NOT the volume.
For compression, I share some techniques on audio compression tips in mixing that includes vocals. Personally I like the Sony Wavehammer plugin in Adobe audio, presets to voice. It produces some of my finest mixed vocals.
Fourth principle: Be very conservative with reverb
Frankly, the mix vocals I used has a very low amounts of reverb. This could be due to the fact that I am mixing for rock and pop which audible reverb is not very popular unlike in other genre.
But not only that, having low amounts of reverb makes the vocals stood up and sounds very strong (in your face). You can easily captivate the listener with strong vocals with low amounts of reverb. I use Sony ExpressFX Reverb, set to Plate reverbs. Plate reverbs is highly recommended for vocals and only set it:
Room size: 30
Liveliness: 10~15
%Original(dry mixing)= 85%~90%
%Reverb = 15%~10%
Then listen very carefully to the mix and avoid boosting any frequencies of other instruments in the 3000Khz range because it belongs to the vocals. Or else you are facing a muddy mix vocals that ruin the production.
NOTICE: TO LEAVE A COMMENT, PLEASE VISIT THE NEW URL OF THIS PAGE: http://www.audiorecording.me/tips-on-how-to-mix-vocals-and-put-some-effects-like-a-professional.html


